
Getting Started With A New Microsoft Email Account
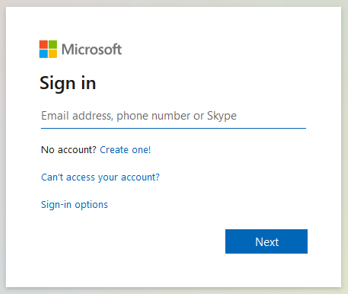
Firstly, navigate to the Microsoft Portal The following sign in box will show on screen, enter your new email address and hit enter or click “Next”.
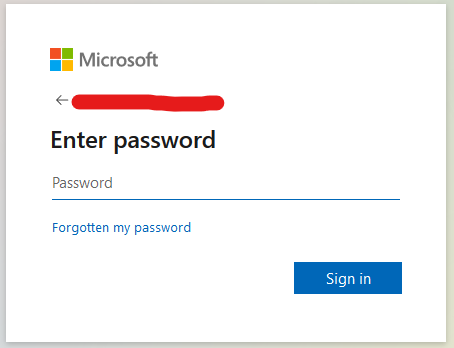
Next, you will be prompted to enter your password, we will send you your password through a one time link via 1ty.me which will “self-destruct” once opened so be sure to copy the password.
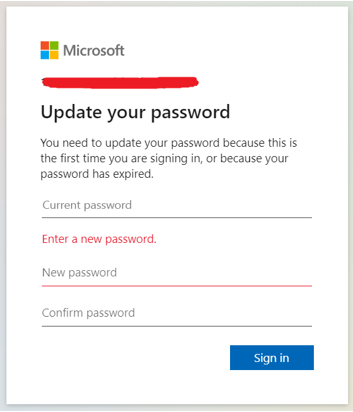
Once you have entered your password, due to this being the first time you have accessed the account, you will be prompted to change your password. Make sure the password you create is secure but also memorable if you do not use a password manager!
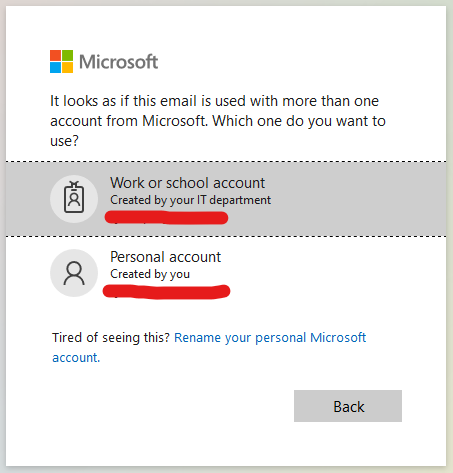
Next, you may be asked if the account you are using is a work/school account or a personal account. Click whichever applies to you.
Next you’ll be asked to provide more information, this is 2-factor authentication which greatly helps to secure your account, there are 2 options: text message to any phone number you desire, or using the Microsoft Authenticator app.
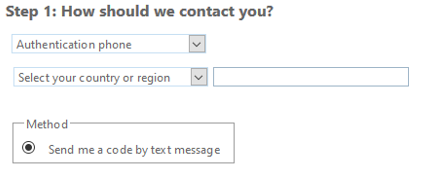
Click the arrow on the first drop down box to select which of the two methods you would like to use.
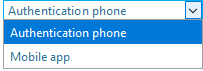
If you choose to use “Authentication phone” follow the steps below. If you choose “Mobile app” scroll down to the corresponding section.
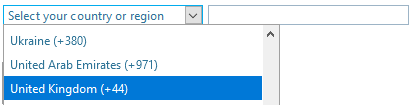
1) Authentication Phone
Select the country of your phone number (for example UK is +44, France is +33) and enter your phone number in the box to the right of the drop down.
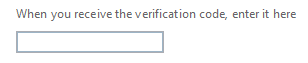
Next, this page will appear. Look out for a text on your phone with a verification code and enter the code into this box.
Next up, you’ll be given an “app password” for certain office apps that you cannot use a text code for.

Safely store this app password somewhere so you do not forget it, for example the notes app on your phone or somewhere you will remember on your PC. You may be prompted to change this password upon accessing these apps for the first time.
You will now be signed in and good to go with your new account. You can access emails as well as download office apps if you have the appropriate licence or you can use the office web apps.
2) Mobile App
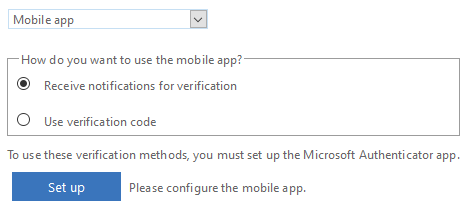
After selecting “Mobile app” from the drop-down box, there will be two options. Receiving notification prompts on which you can click Approve or Deny, or there is the option of using a verification code that is given to you in the app.
Before proceeding any further, ensure you have the Authenticator app installed. You can install the Microsoft Authenticator App on the Apple App Store and Google Play Store.
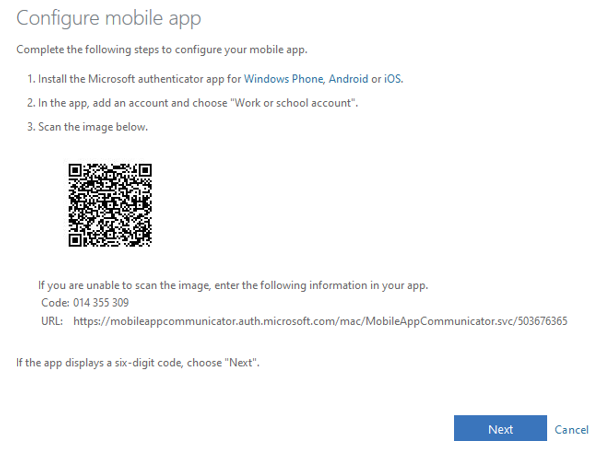
Click “Set up” when you have installed and accessed the app on your phone. You will be brought to the following screen:
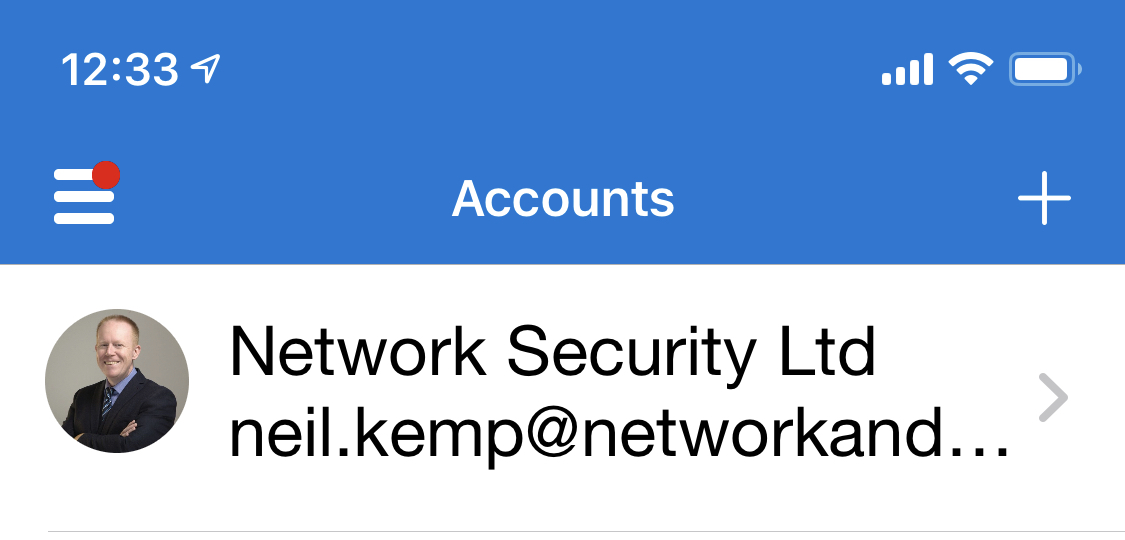
You now need to go onto the app and click the 3 dots in the top right (for Android, the + symbol for Apple), then click “Add account”
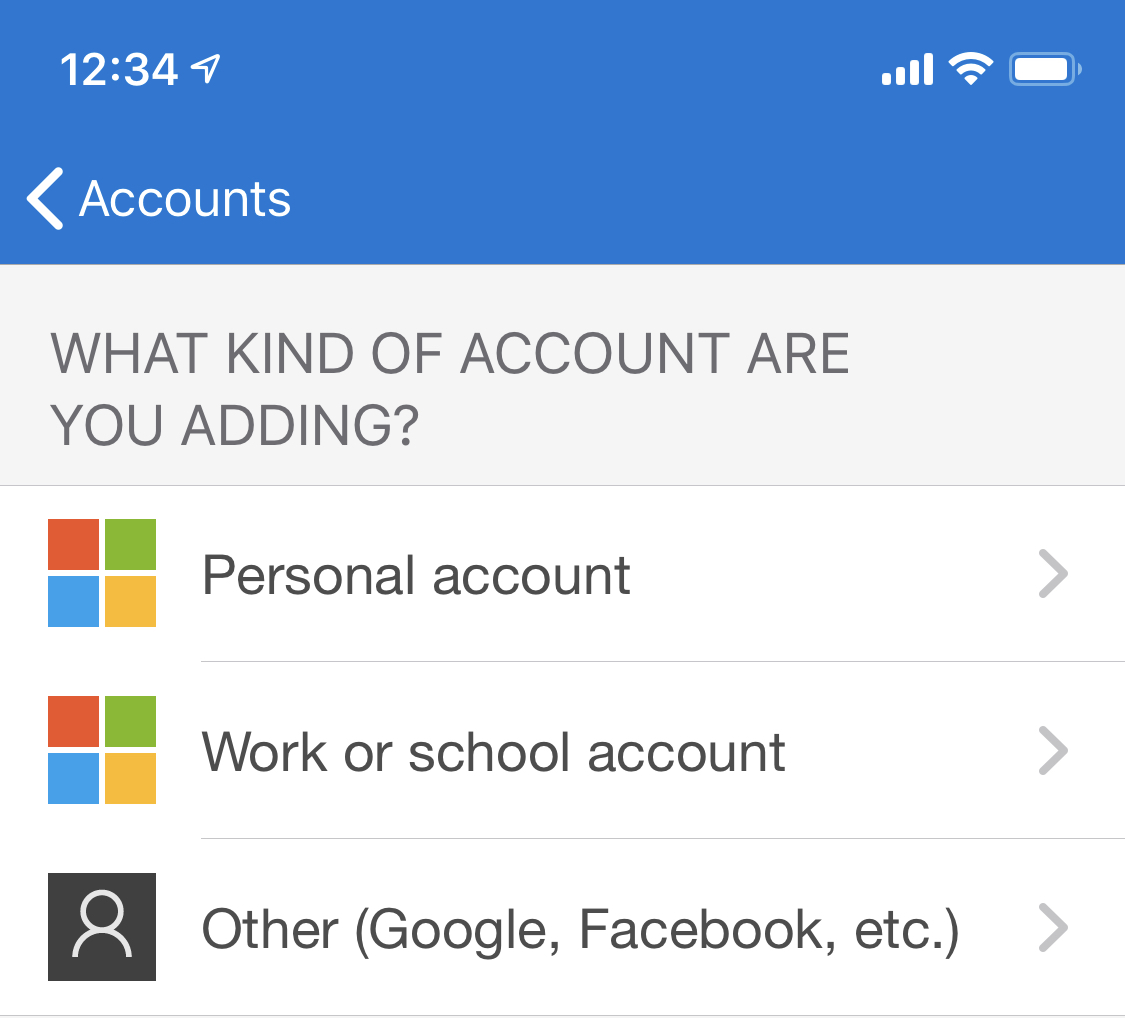
Next, you will be asked whether the account is for personal use, work/school use, or if it is a non-Microsoft account. Choose Work or School Account.
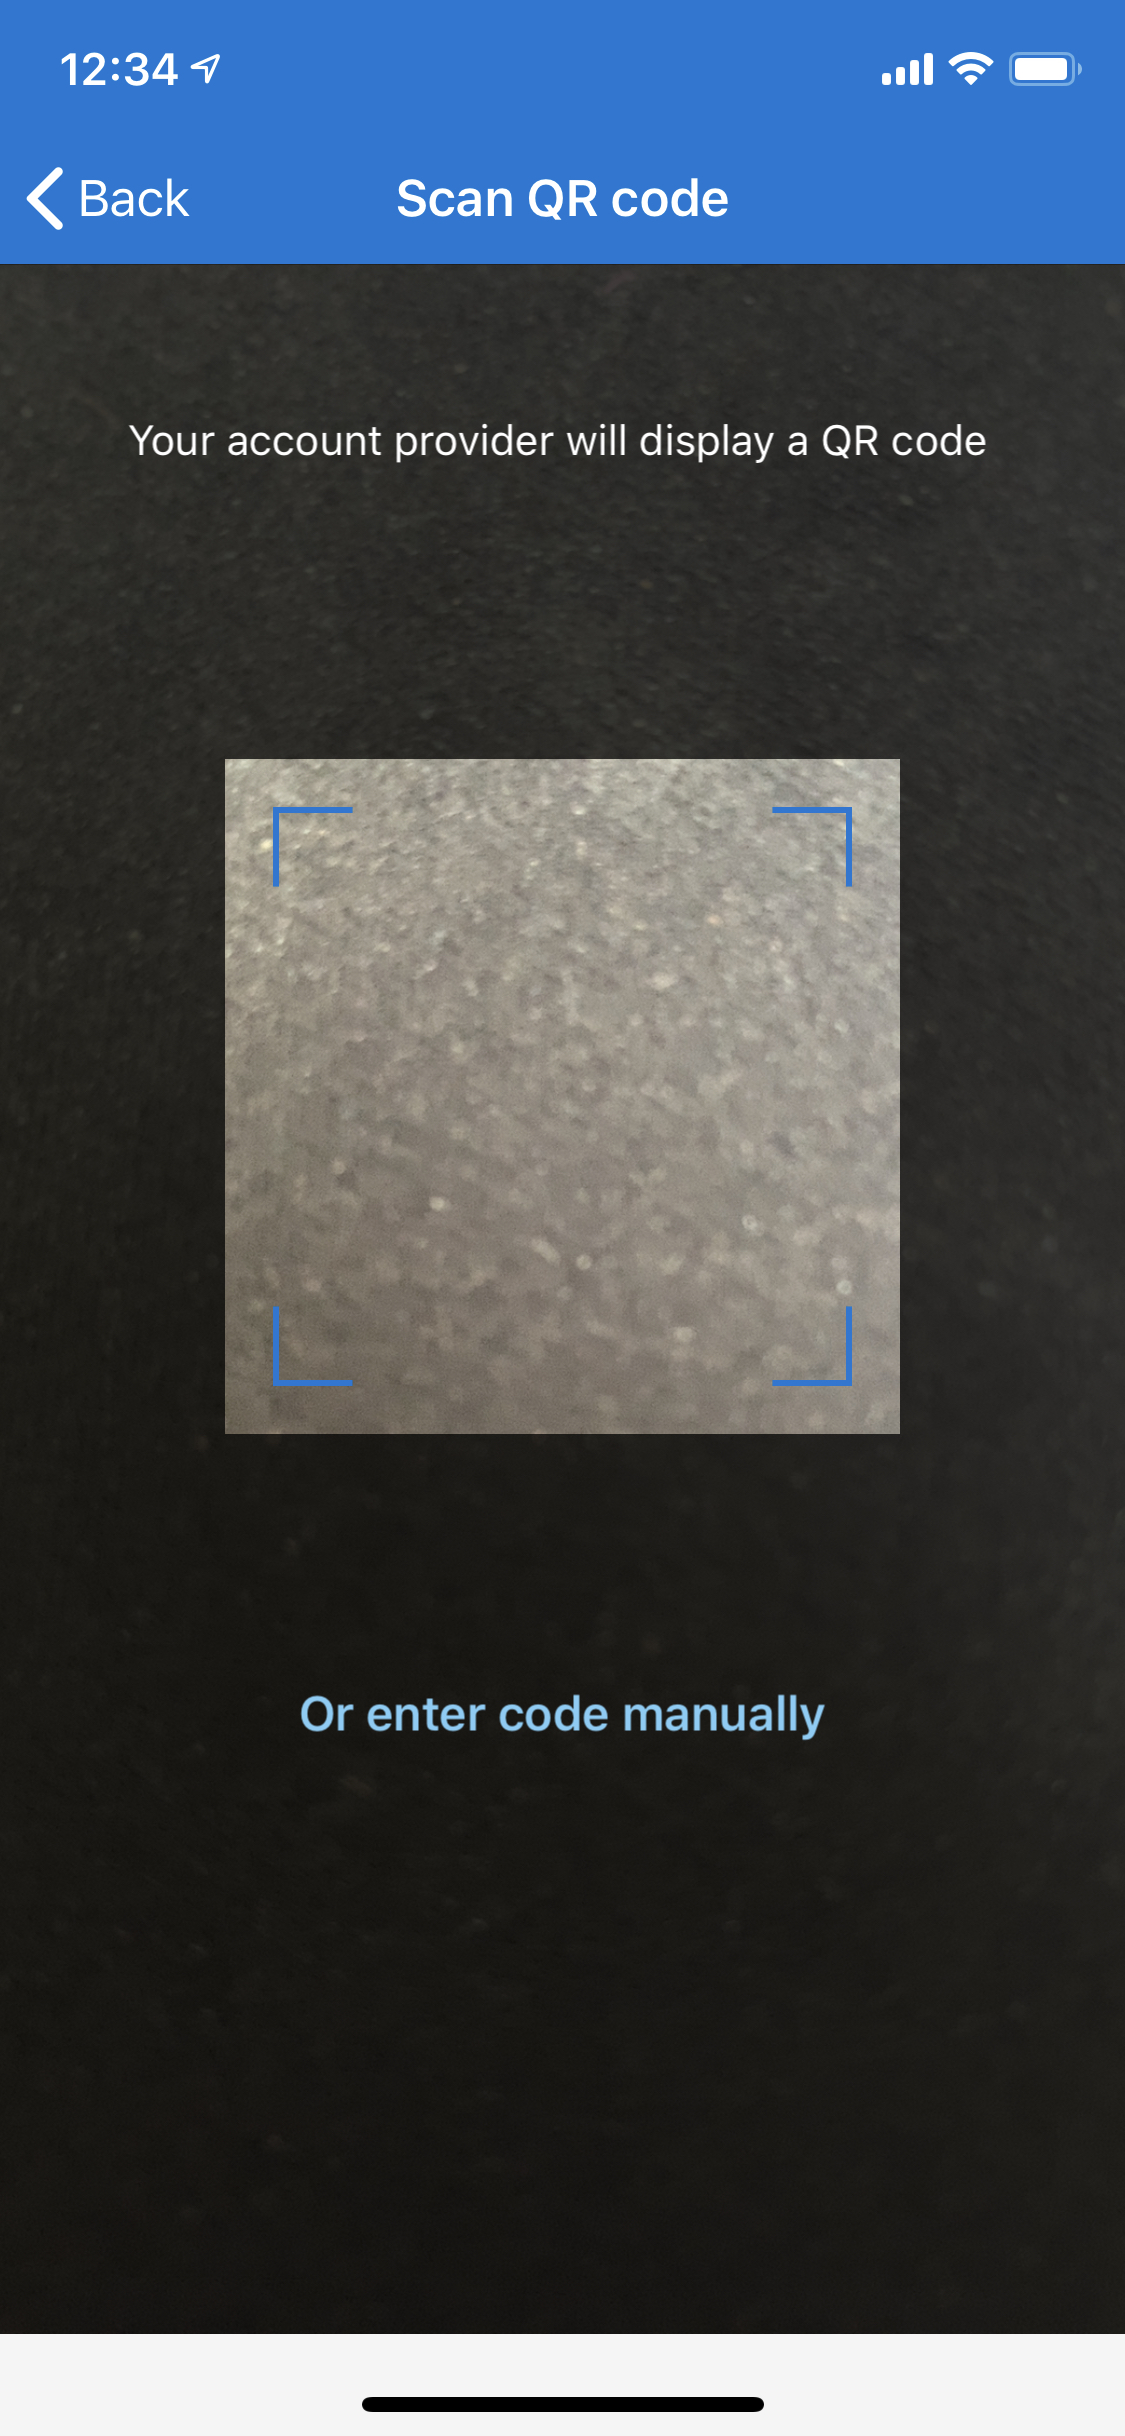
The app will then bring up the camera with a box to scan a QR code, you need to scan the one in the window shown above. If you are unable to scan it for whatever reason, you can manually enter the code by clicking “or enter code manually” at the bottom of the screen on the app. The code is displayed beneath the QR code in plain text on your PC.
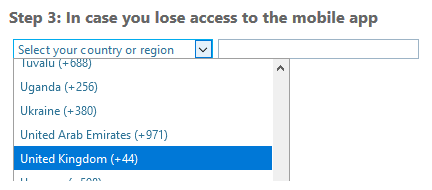
You will then be asked to enter a phone number in case you lose access to the Authenticator app. Take the country code of your phone number from the drop-down box and then enter your phone number in the box on the right.
Next up, you’ll be given an “app password” for certain office apps that you cannot use a text code for. This is used for application such as CRMs etc where it cant directly authenticate to Office365 natively.
You are able to create app passwords at any time, so you can close this window.
If you have any questions or queries, please get in contact with us by clicking the IT Support button, bottom right of our website